Buying crummy pie shells

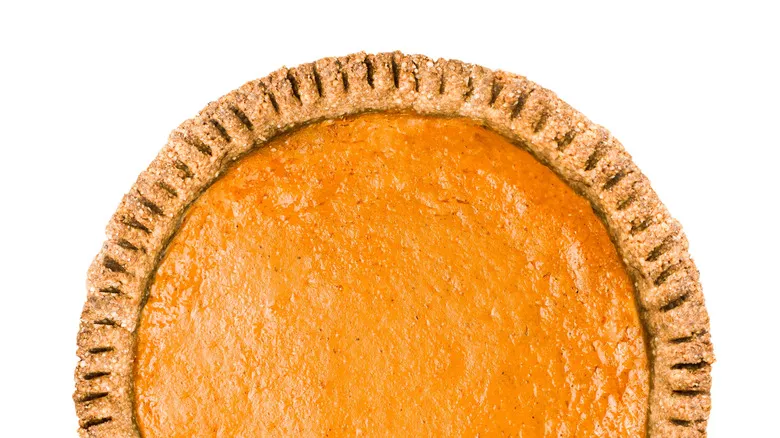
To start off: A delicious pumpkin pie requires a great crust. While the crust may not be the main part of your dessert, it plays a crucial role in both structure and flavor enhancement. If you choose to purchase pie shells, make sure to find a reputable brand that uses high-quality ingredients—ones you can easily pronounce.
Traditional pie crusts typically don’t need any added sweetness, but if you enjoy a touch of sugar, consider using a pre-made graham cracker or shortbread crust. This will enhance the flavor while saving you time. Just keep in mind that sweeter crusts may require you to reduce the sweetness in other elements of the pie. A simple solution is to use unsweetened whipped cream or a honey-infused vanilla version instead of regular whipped cream or ice cream.
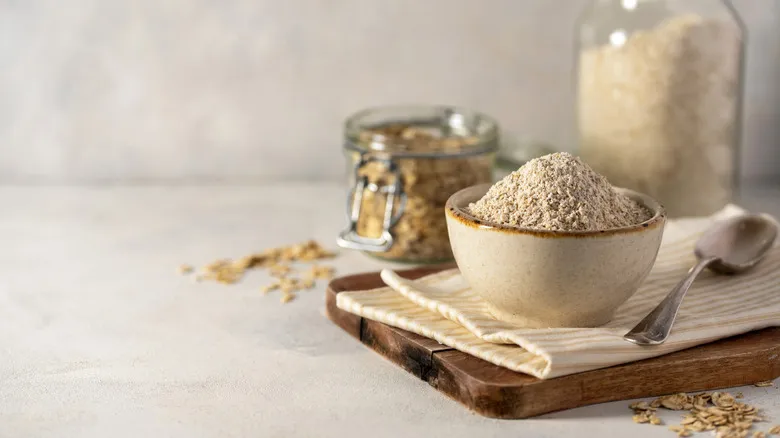
You might also explore unconventional crust options, as suggested by Marissa Stevens, founder of Pinch and Swirl. "I adore pumpkin pie and its many variations, but my go-to is a no-bake Pumpkin Chiffon Pie with a gingersnap crust made from homemade spicy Gingersnap Cookies inspired by Stella Parks," she shared. Parks, a pastry chef known for her intense love of gingersnaps, might go a bit overboard, according to Stevens, who noted, "I tone mine down a bit from her recipe to keep them from overpowering the pie. But I appreciate that they’re crunchy enough to easily turn into crumbs in the food processor."
Overmixing your dough
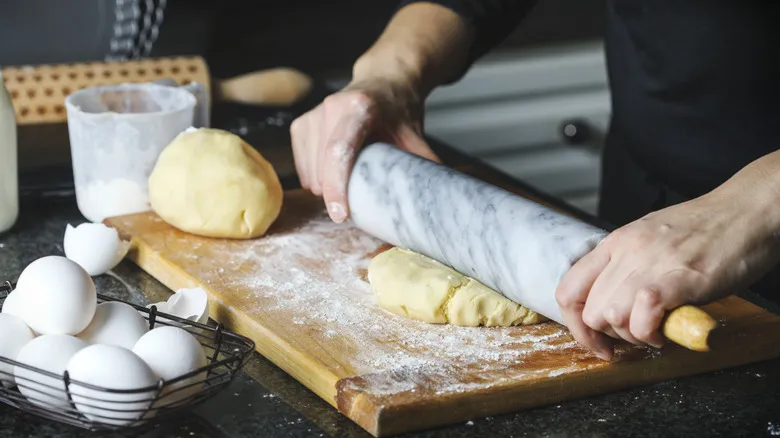
The secret to a delicious pumpkin pie lies in its light, flaky, and crumbly crust. While a denser crust can still be enjoyable, it doesn't quite compare in ease of preparation. Fortunately, there's a reliable technique to ensure your pie turns out perfectly. "Be gentle when mixing to avoid overworking the dough, which can lead to toughness," advises Julia Chebotar, founder of Health Chef Julia and champion of Food Network's "Chopped." This is because mixing and kneading activate gluten, which is great for breads like brioche but not ideal for pie crust. "It should just come together," she emphasizes. If you mix any longer, you've gone too far.
Additionally, it's important to keep your dough cold. "Make sure your butter (or any substitute fat) and water are chilled," she recommends. "Have ice water ready." This helps maintain the cold temperature of the butter, allowing it to melt and expand in the oven, producing steam that contributes to flakiness. As long as you can still see small bits of butter in your dough, you're on the right track, according to Marissa Stevens.
Forgetting to rest your dough for homemade pie crust
It can be tempting to dive right into rolling out your pie dough (no pun intended), but it's important to hold off. "Letting the dough rest in the refrigerator for at least an hour helps to relax the gluten, making it easier to roll out," explains Julia Chebotar. Keep in mind that your goal is not a gluten-heavy texture, but rather a light and flaky one.
It's also worth mentioning that while plastic wrap is a popular choice for resting dough to keep it from drying out, you don't have to rely on disposable options. This writer prefers using beeswax food wraps for this purpose. They effectively keep air out and are easy to clean afterward. Just be sure to wash them with hot water, which not only cleans them but also reactivates the wax, ensuring they stick well for your next use.
Baking frozen shells directly from the freezer
Many pre-packaged products clearly state that they should not be defrosted before use, such as frozen pizzas, juice concentrates, and microwave meals—the list is extensive. However, one item that definitely needs to be thawed before cooking is pie shells. A lot of people mistakenly believe they can place them directly in the oven straight from the freezer, but that's not the case. If you're using frozen pie crusts that aren't already shaped in a pan, it's not only unwise but also impractical, as you'll need to unroll the dough and fit it into a pie dish.
Here's the correct approach: First, ensure you have all your ingredients ready. You want to avoid letting the pie crust warm up too much, as you have a limited time before it does. Remember, pie crusts cannot be refrozen, so gather everything else you need before taking the shells out of the freezer. Follow the package instructions for how long to defrost them on the counter, or if you prefer to plan ahead, defrost them in the refrigerator for more flexibility.
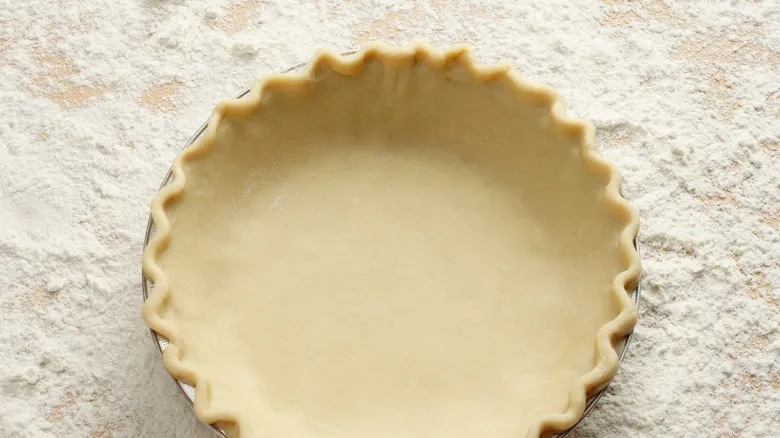
Forgetting to blind-bake the shell
If you're glancing at that title and thinking, "Wait, what? Blind-baking?" you're not the only one. While blind-baking isn't a particularly complex technique, it isn't exactly obvious either. Nevertheless, it's essential. "For a custardy pie like pumpkin, you must partially blind-bake the crust to prevent the dreaded soggy bottom," explains Marissa Stevens. "And please, please remember to dock the crust (poke the bottom with a fork) before blind-baking. Those little holes allow steam to escape and stop the crust from puffing up."
If you've never tried blind-baking a pie crust before, it's definitely a skill worth mastering. In addition to poking holes in the crust, you'll need to weigh it down with a piece of parchment paper filled with weights. You can invest in a set of reusable ceramic pie weights, or you can simply use dried beans. Both options work equally well; just keep in mind that if you choose beans, you'll need to either keep them separate from your cooking beans or use them a few times before cooking them.
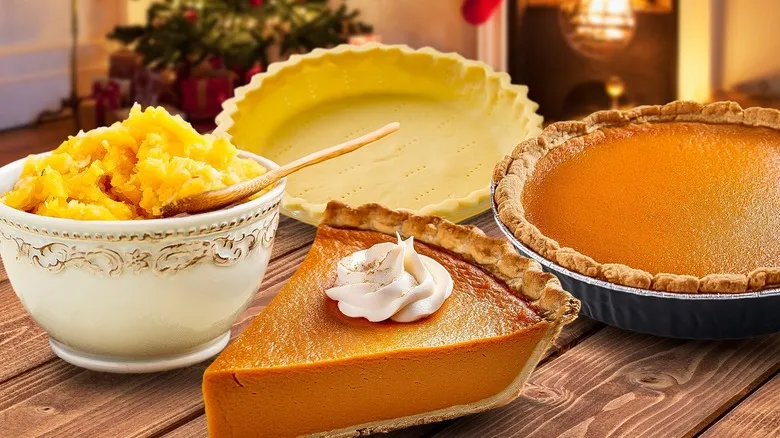
Substituting pumpkin puree for pie filling
A frequent mistake made by beginners is simply dumping a can of pumpkin puree into a pie crust and thinking it’s ready to go. The reality is that canned pumpkin differs from pumpkin pie filling, which is pre-sweetened and spiced. Always check the ingredients, as you’ll be disappointed if you take a bite of your pie and notice the difference.
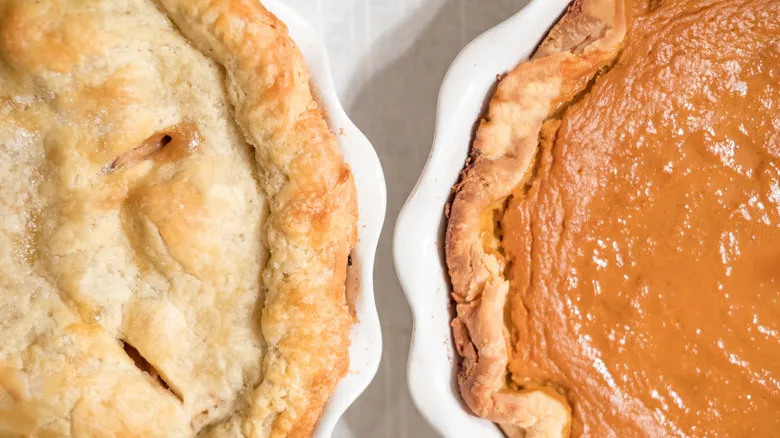
When it comes to pie filling, you have several choices. To enhance the richness of canned pumpkin and reduce its moisture, consider roasting the puree instead of using it straight from the can. If you decide to make your own pumpkin filling from scratch, a good rule of thumb is to use one 3-pound pumpkin for every 2 cups of puree. Interestingly, both white and orange pumpkins can be used for your pie. Just keep in mind that the flesh of white pumpkins is pale, resulting in a lighter color compared to the deep orange-brown hue of a classic pumpkin pie.
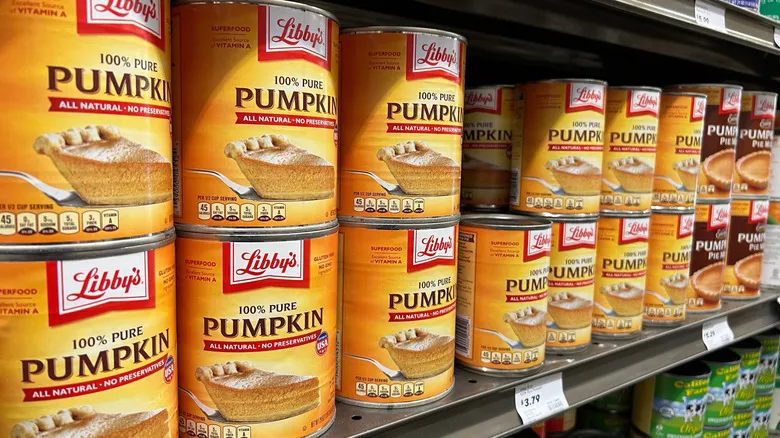
However, Marissa Stevens suggests that you might want to skip the homemade route for this part of the pie. "Baking and scooping out the flesh from sugar pumpkins can be tedious and messy, and the texture and sweetness often don’t match the quality of a can of high-quality pure pumpkin," she notes. There’s a solid reason for this: "Those Libby's cans actually contain Dickinson squash, which has a denser and naturally sweeter texture, making it ideal for pies." Nevertheless, she advises ensuring you choose 100% pure pumpkin so you can control the sweetness and spices to your liking.
Underspicing or overspicing
As Marissa Stevens highlights, one of the most effective ways to prevent underspicing or overspicing is to take charge of the filling by preparing it yourself. However, there are times when it might be beneficial to rely on Big Pumpkin, especially when you're in a rush to make a no-bake pumpkin pie and prefer to use Jell-O mix. (Indeed, pumpkin spice Jell-O exists!)
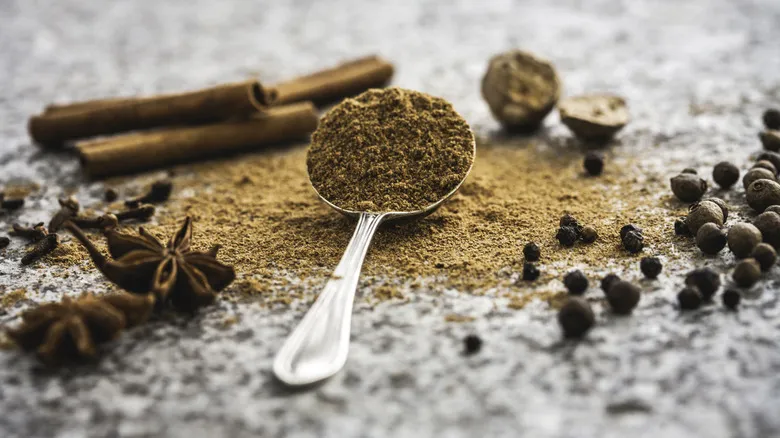
If you choose to make your own filling, consider using pumpkin pie spice, which not only enhances pies and custards but also adds a delightful flavor to your coffee and tea. If you don’t have pumpkin pie spice available or prefer not to purchase it, don’t worry: you can easily create your own substitute. It’s a simple blend of cinnamon, ginger, nutmeg, cloves, allspice, and a touch of black pepper. The inclusion of black pepper may seem unusual, but it’s essential for adding that necessary kick! Stevens cautions against the common pitfall of underspicing. While these spices are potent, they are crucial for balancing the sweet, squashy flavors.
Making substitutions willy-nilly
Making substitutions is perfectly fine, but it’s important to proceed with caution. "Pumpkin pie is fundamentally a custard, so the balance of liquid to dry ingredients is essential for it to set correctly," explains Marissa Stevens. "While you can replace heavy cream with half-and-half, it's best to steer clear of liquid sweeteners like honey or maple syrup instead of granulated sugar, as they can disrupt the moisture balance and prevent your pie from setting properly." If you do choose to use alternatives, be sure to consult a recipe that provides the right ratios.
That said, substitutions aren’t off-limits. Julia Chebotar supports them, provided you understand the implications. "For instance, using coconut oil in place of butter may slightly change the texture. Almond flour is a good option, but coconut flour can be trickier to work with and may crumble." Again, it’s wise to research your substitutions rather than diving in without preparation. Additionally, if you opt for gluten-free flour, allowing your dough to rest for a while is beneficial. This gives the starches time to absorb the liquids, helping to avoid a gritty final product.
Using cold filling in a room-temperature pie crust
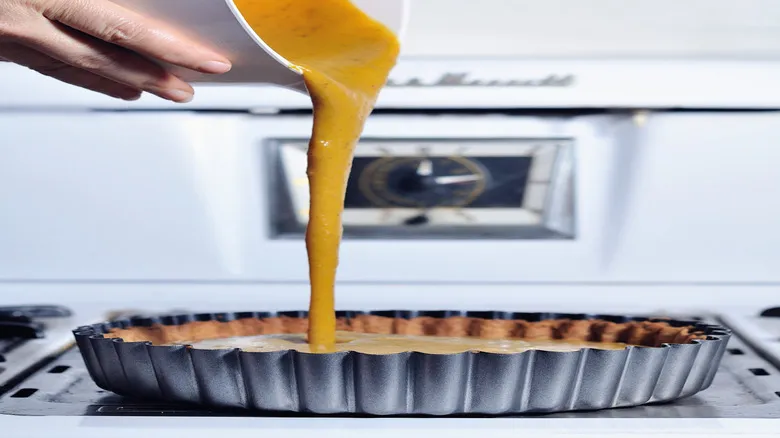
A common yet overlooked mistake many people make is adding cold filling to a pie crust that’s at room temperature. This occurs frequently, and Marissa Stevens warns that it can lead to disaster. Cold filling won’t distribute evenly in the pie pan, and if you opt for a top crust (which is indeed a thing), the filling can hinder even cooking.
When it comes to filling your pie, be cautious not to overfill the shell with custard. The filling will expand during baking, and if you add too much, it could overflow, damaging the crust or causing uneven baking. Resist the urge to use all the filling from your recipe. Instead, pour the custard just below the crimped edge of the crust. You can save any excess and bake it in a ramekin without the crust.
Letting the edges burn

Burnt pie edges are a classic dilemma, a disappointing reality that anyone who has baked a pie is likely familiar with. Fortunately, thanks to modern innovations, you can now purchase silicone pie crust shields that help maintain a lovely golden brown color on the edges, preventing them from becoming that unattractive, shiny black. Simply take your pie out of the oven when the crust reaches the desired hue and place the shield on top. It will safeguard the crust while allowing the filling to continue cooking perfectly.
Alternatively, you can use the aluminum foil method by wrapping thin strips of foil around the edges to shield the crust while leaving the filling exposed. While this technique is reliable, it does come with a higher risk of burnt fingers. Whichever method you choose, be prepared to keep a vigilant watch over your pie, which is something you should be doing anyway. *gently shakes finger*
Some creative bakers suggest placing the foil ring on the pie before it goes into the oven and then removing it later in the baking process. This way, you can prevent burning without feeling overly anxious. The choice is yours!
Overbaking
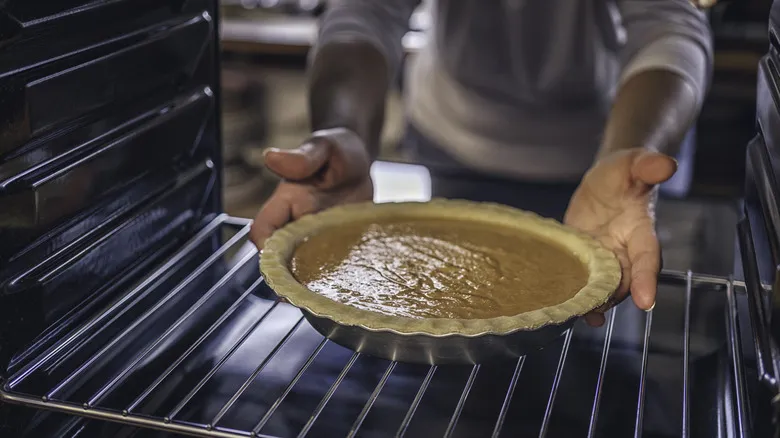
Oven temperatures can differ significantly, making overbaking a frequent problem. The reason is straightforward: while you’re following the recipe, your oven may be hotter than the one used by the recipe's author, causing you to leave your pie in for too long. This often results in cracked pumpkin pie, which happens when the filling dries out and separates.
To prevent this, Marissa Stevens recommends, "Place your rack in the center of the oven, away from the heating element. The center of the pie should still have a slight jiggle when you take it out, as it will continue to cook from the residual heat." She also suggests keeping a close watch on your pie as it nears the end of the baking time and removing it as soon as the texture appears right. Additionally, Julia Chebotar advises, "Allow the pie to cool gradually in the oven with the door slightly open after baking."
Forgetting to rotate the pie
While it may be tempting to simply place your pie in the oven, set the timer, and walk away, it's important to keep a closer eye on it. Set a timer for the halfway mark, which will allow you to check the crust and rotate the pie. Even well-calibrated ovens can have hot and cold spots, so you can't depend on it to cook uniformly. Instead, turn your pies 180 degrees to ensure even baking.
If you're baking multiple pies, be sure to swap their positions as well. You can either move them from front to back or change their places on different shelves if you're using more than one tier. While it's certainly possible to bake two pies simultaneously, opinions vary on whether you should attempt more than that. The key factor is the oven temperature; baking additional pies can lower the temperature and extend cooking time. If you're okay with that, it should work out fine.
Don't forget to have a reliable pair of oven mitts to protect your hands. There's nothing worse than burning yourself, dropping a pie, and spending the weekend cleaning the oven instead of enjoying your turkey. (Trust me, I've learned this the hard way.) Silicone oven mitts are a great option for those who prefer full coverage, as they help prevent painful wrist burns. (Again, speaking from experience.)
Not letting the pie cool completely before cutting
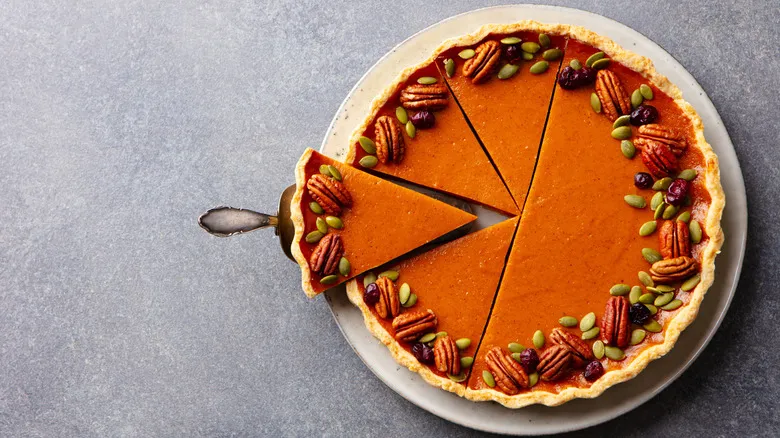
Adopt this as your guiding principle: Pumpkin pie should never be served straight from the oven. The beauty of a well-made pumpkin pie lies in its ability to maintain a lovely, crisp triangular shape when sliced. Both the crust and filling should cut cleanly and neatly, presenting beautifully on a plate. This won't be achievable if the pie isn't allowed to cool completely. Ideally, your pie should rest for several hours.
Even better, as Julia Chebotar suggests, refrigerate your pumpkin pie once it has cooled to room temperature. The great news is that you don’t have to worry about chilling it too much. "You can prepare pumpkin pie up to two days in advance," Marissa Stevens notes. "In fact, it tastes even better the day after baking, as the flavors have time to meld, and it’s one less task to tackle before the big meal."
Serving it on its own

Everyone has their own views, but this writer firmly believes that pumpkin pie should never be enjoyed on its own. It’s not that it’s dull; rather, it serves as an incredible base for dairy toppings, making it almost a crime to forgo them.
The most obvious (and, for many of us, the only) topping to consider is whipped cream. While you can certainly whip it up with a whisk, it takes an eternity and can be tough on the arm. In this writer's opinion, investing in a handheld mixer is well worth it. You'll find it useful for various cooking tasks, and it’s compact enough to fit in small kitchens. If whipped cream isn’t your preference, there are plenty of other delicious options: whipped ricotta, caramel sauce, meringue, marshmallow, or classic vanilla ice cream.
Using a store-bought pie? We’ve all been there, but sometimes these pre-made desserts can be overly sweet. If that’s the case, a simple solution to balance the sweetness is to sprinkle a bit of salt on top. This will enhance the other flavors while reducing the overwhelming sweetness.
Storing it incorrectly
You might assume that storing a pie is a straightforward task, but there are indeed proper and improper methods to do so. According to Marissa Stevens, the first step is to "keep it in the refrigerator, but allow it to come to room temperature before serving for optimal texture and flavor. You can safely remove it from the fridge up to 2 hours prior to serving."
Next piece of advice: When placing your pie in the fridge, don’t just toss it in. Instead, Julia Chebotar recommends, "wrap it in plastic wrap or foil to maintain its freshness." She suggests that a glass container is the best choice. When stored this way, the pie can remain in the fridge for up to four days, although its flavor is at its peak within three days or less, according to Stevens. Beyond that timeframe, the crust may become soggy and the filling may lose its quality. "If you need to keep it for a longer period," Chebotar advises, "consider freezing it."
Recommended
The Temperature Mistake That's Ruining Your Sourdough
For Quicker Oven-Baked S'mores, Go For The Marshmallow Cream
How To Substitute Flour In A Gluten-Free Apple Crisp

Ina Garten's Secret For Effortlessly Moist Red Velvet Cupcakes
Next up